How to issue verifiable digital certificates: a practical guide
What makes a certificate verifiable, and how to get there: a reusable template, bulk issuance from a spreadsheet, wallet delivery, and a public verification page anyone can check in seconds.
 Certifada TeamEditorial team5 min read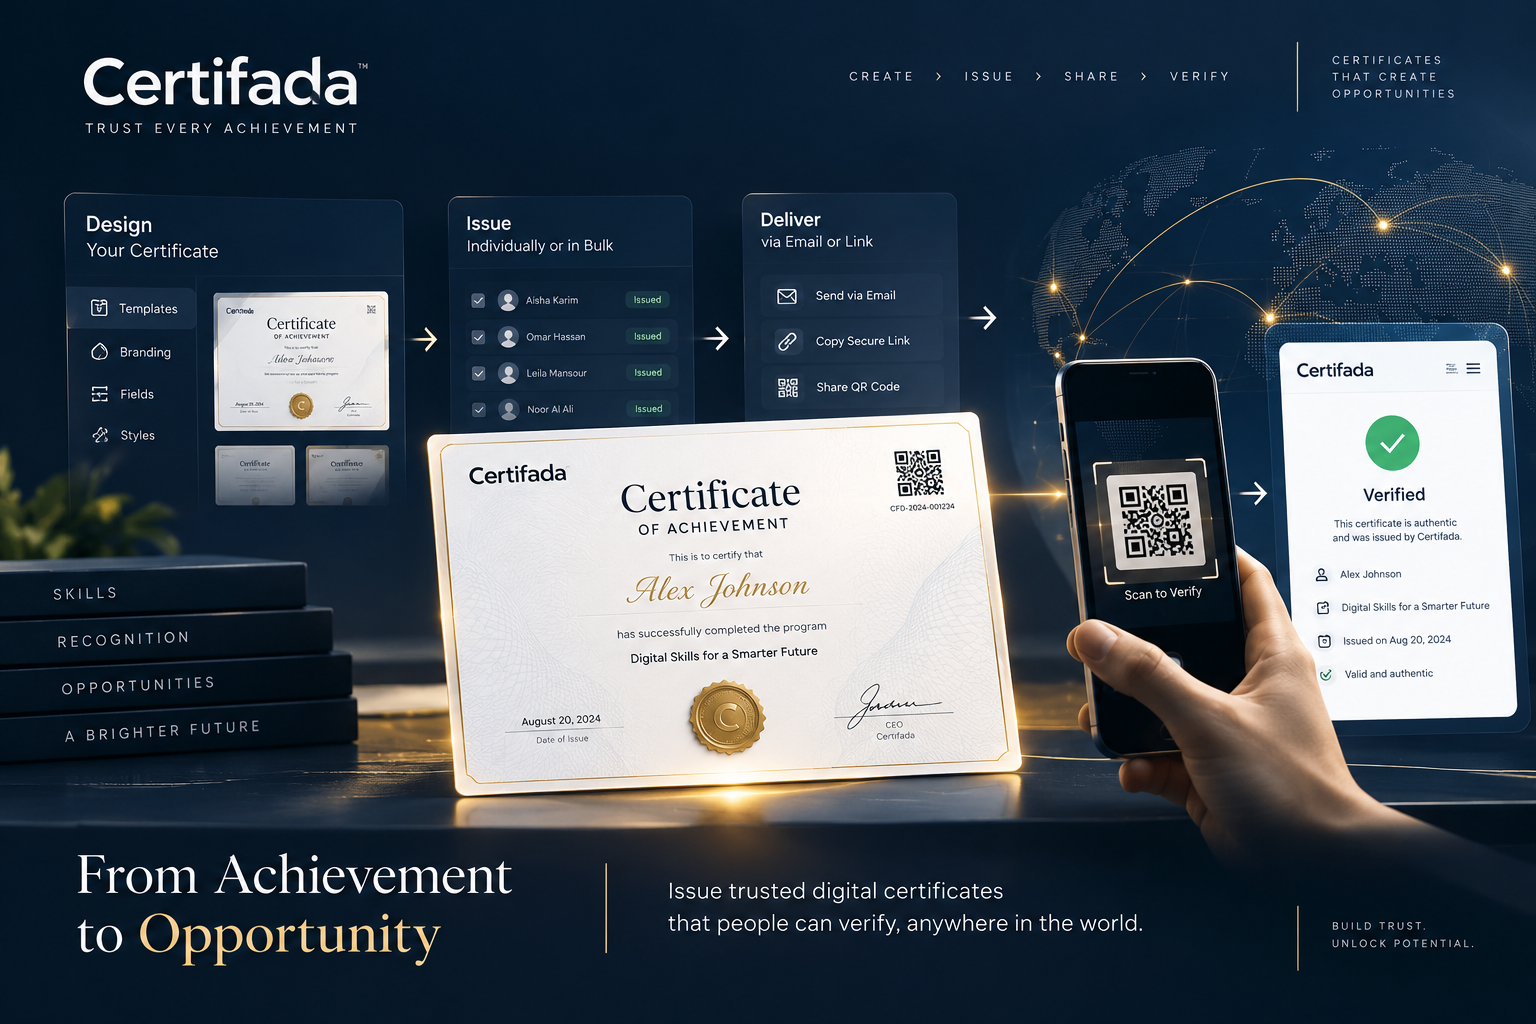
Every training provider, Certification bodies and event organiser eventually faces the same question from a recipient: "How do I prove this certificate is real?" If the honest answer is "email us and we'll check", the certificate is doing half its job. This guide walks through what makes a digital certificate verifiable, and how to issue one — from a blank template to a batch of credentials that anyone can check in seconds.
What "verifiable" actually means
A PDF with a logo is a claim. A verifiable certificate is a claim plus a way for a stranger to confirm it without contacting you. In practice that means three things travel with every credential:
- A public verification page hosted by the issuer, reachable by link.
- A QR code printed on the certificate that opens that page.
- A tamper-evident record — the page shows exactly what was issued, to whom, when, and whether it is still valid.
Employers, admissions offices and procurement teams increasingly expect this. A credential that cannot be checked is treated, at best, as a nice-to-have; at worst it is ignored.
What it is not
Verification does not require blockchain, wallets or a login for the person checking. It requires a stable public page and an issuer who controls it. Anything that adds friction for the verifier — an account, an app, a fee — reduces the number of people who bother to check, which defeats the purpose.
Step 1 — Design a template you can reuse
Start with the certificate you already issue and rebuild it once as a template with dynamic fields: recipient name, programme title, completion date, an optional grade or credit count, and the signatory. Certifada's designer works in the browser and supports both English and Arabic layouts, including right-to-left text, so one organisation can run bilingual programmes from the same library.
A few rules keep templates useful for years:
- Leave room for the QR code. A 2.5 cm square near a bottom corner is enough to scan from a printout or a phone screen.
- Use fields, not static text, for anything that changes — dates and titles included. Editing a template later should never mean re-issuing old certificates.
- Keep contrast high. Decorative backgrounds behind names are the most common reason recipients cannot read their own certificate on a phone.
You can start from the template library and adapt a design rather than drawing from scratch.
Step 2 — Issue in bulk from a spreadsheet
Issuing one certificate at a time does not survive contact with a 200-person cohort. Prepare a spreadsheet with one row per recipient and one column per template field. Certifada maps columns to fields, previews the first rows so you can catch a swapped name column before anything goes out, and issues the whole batch in one run.
| Cohort size | What to expect |
|---|---|
| Up to 50 | Under a minute, including email delivery |
| 50 – 500 | A few minutes; delivery continues in the background |
| Recurring cohorts | Set up an automation so each new batch is issued from the same template with the same rules |
Every certificate in the batch receives its own verification link and QR code. If your organisation requires sign-off before anything is issued, an approval workflow can hold the batch until a manager approves it.
Step 3 — Deliver in a way recipients keep
Recipients lose PDFs. They do not lose their phone. Alongside the branded email with a download link, each credential can be added to Apple Wallet or Google Wallet, which keeps the QR code one tap away when someone asks for it at an interview or a registration desk.
If your programme uses badges, Certifada also issues Open Badges 2.0 with hosted verification, so the same achievement can be shared on professional networks and imported into other badge platforms.
Step 4 — Make verification effortless
The verification page is where trust is earned, so treat it as a public product page:
- No login and no fee for whoever is checking. Verification on Certifada is free and unmetered on every plan, including the free one.
- Show the status clearly. A revoked or expired credential should say so on the page rather than quietly disappear.
- Brand it. A verification page on your own domain with your logo reads as authoritative; a generic one does not.
Verification analytics tell you how often credentials are checked and from where, which is a useful signal of how much value a programme actually carries in the market.
What to check before you launch
- The template renders correctly in both languages you issue in.
- A test batch of five recipients, including one long Arabic name and one long English name, looks right on desktop, on a phone and printed.
- Scanning the QR code from the printed test certificate opens the verification page.
- Revoking one test credential updates its verification page immediately.
- Your issuing team knows who approves batches and who can revoke.
Start small, then automate
Most teams begin with one template and one cohort, then add automations, approval rules and webhooks once the process is proven. The free plan is enough to issue a first real batch and put verifiable credentials in front of your recipients this week. If you are comparing tools, the comparison pages set out honestly where Certifada differs from Accredible, Credly, Sertifier and others.